


The first clip came out right. It shows the panel, the button and a result a reader can match against the README. Then you make the second clip to show the same feature with one thing changed, and it comes back wrong. The layout has moved. The icon is different. The little mascot from the first frame now has a hat.
Nothing is wrong with your code. The library did exactly what the snippet says. What changed is the picture, and the reason is almost always one setting: the seed was left to roll again. In viddo, the seed can be locked. Treat that number as part of the demo, the same way you pin a dependency version, and the second clip stops drifting away from the first.

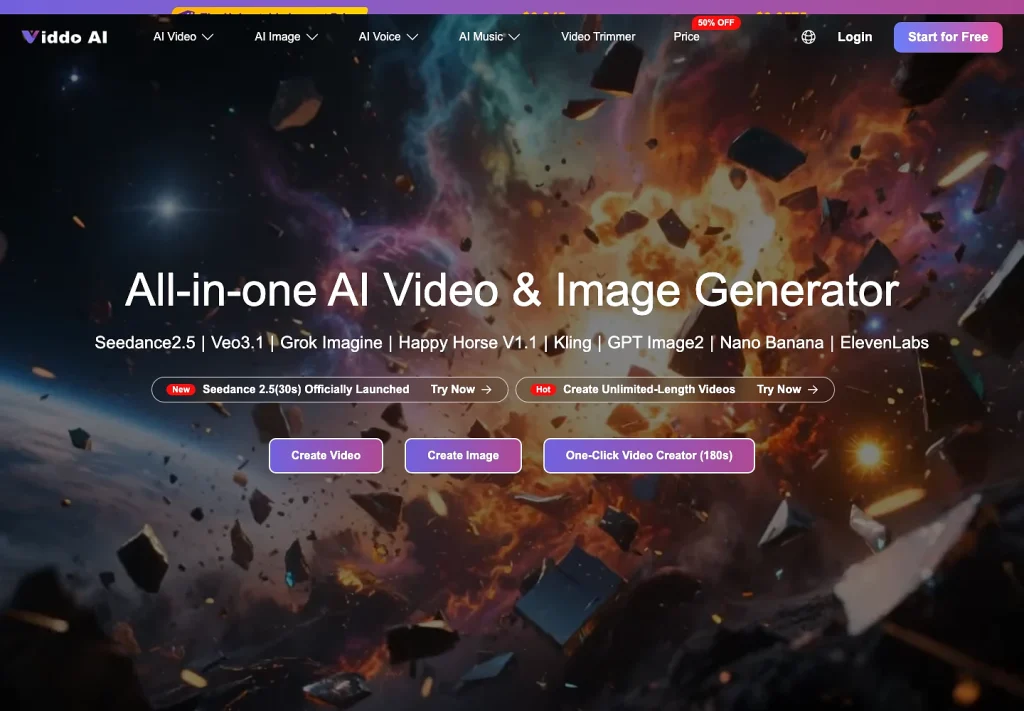
Viddo AI’s generation panel. The model, the prompt and the settings, including the seed, are all chosen here before each take.
Why The Second Demo Clip Never Matches The First
Every new prompt is a new request. Without a shared seed, the model is free to restyle the whole frame, so the change you wanted to show is no longer the only change on screen.
Here is how it usually goes. Someone writes a loose prompt for the hero clip, likes what comes back, and moves on. Later they write a second prompt for the “after” state. The model treats that second prompt as a fresh job and picks a new starting point. The button moves. The sample avatar changes face. The background swaps from a desk to a café.
People who review pull requests spot this at once. They can’t tell whether the feature changed or just the picture changed. A demo that raises that doubt is useless in a README, even when the API underneath works perfectly. The review gets spent on the footage while the actual patch waits.
It gets worse when a real screen recording is cut together with generated B-roll. Two sources, two looks and no shared number make the video feel like two different products. For a small library, that turns into support work. People open issues about a screen they saw in the clip and can’t find in the build.
What A Seed Number Holds And What It Does Not
A seed is the starting number a video model builds a clip from. Keeping the same number keeps the style and the look of a character as close as the model allows. It does not freeze your UI, your text or your exact pixels.
The seed isn’t the prompt, and it isn’t your git tag. Locking it will not fix a bug in the frame. It will not lock a font you add later, and it will not turn a vague prompt into your real component tree. What it does is stop the second take from rolling a new look while you are trying to show one change.
There is a limit worth saying plainly. A locked seed narrows the difference between two takes. It doesn’t promise a pixel-for-pixel repeat. Hugging Face’s Diffusers documentation on reproducibility says the same about image and video models in general: results match “within a certain tolerance range,” not bit for bit. PyTorch’s own reproducibility notes add that the same seed can give different numbers on different hardware. Video models also get updated quietly, and a seed number from one model means nothing in another. So the seed is a strong tool for a matching pair, not a guarantee.
That is why the pair needs to share more than the seed. Keep these four things the same across both shots:
- The model. Switching model turns the pair into a second experiment.
- The aspect ratio. Don’t crop one clip into the other’s frame afterwards.
- The seed, with the lock left on. Only change it when you want a new style on purpose.
- Everything in the prompt except one variable. Name that variable in the caption or the commit message.
The one variable can be an empty state against a filled one, a dark theme against a light one, or the same object before and after. If the prompt also changes the room, the camera and the cast, the seed can’t save the comparison. You have asked for a different film.
Explore AI Video & Image Generator With Viddo AI

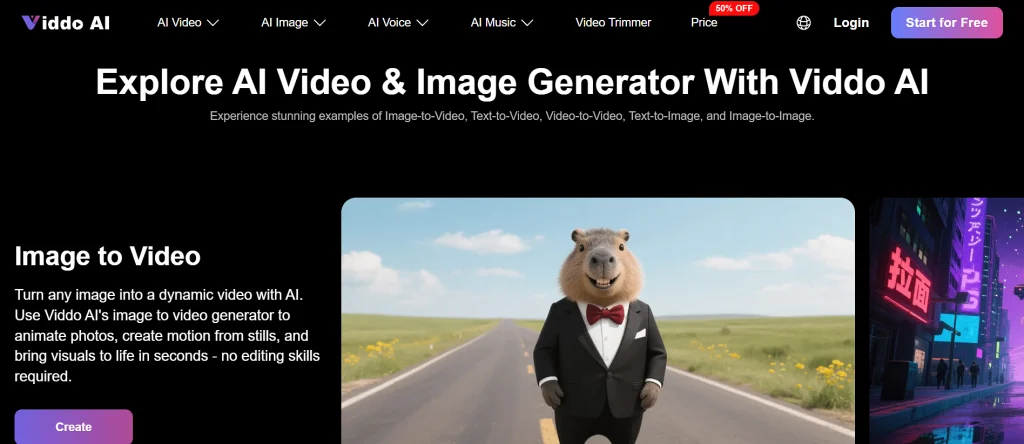
Viddo AI is a web app that puts more than 20 video and image models from different companies behind one prompt box. You pick the model, write or upload, set the size, and spend credits per generation.
The site says it has more than 2.5 million users in over 70 countries. What matters for a demo, though, is what sits in the menus. Going through the home page, these are the main tools:
- Text to video. Write a prompt and get a clip back.
- Image to video. Upload a still, such as a screenshot of your UI, and animate it. This is the safest route for product demos because the starting frame is your real interface. A full-size screenshot can run to several megabytes, so it is worth knowing how to resize an image without the file ballooning before you upload it.
- Text to image and image to image. Make stills, or restyle an existing photo.
- Effects and extras. Ready-made effects such as Earth Zoom In and AI ASMR, plus a video trimmer, AI voice and AI music.
One of Viddo AI’s own image-to-image examples. The phone keeps its shape and the style changes, which is the same idea a locked seed applies to video.
The Models You Can Pick From
The model menu is long, and that is both the strength and the trap. Viddo AI lists video models from Google (Veo 3 and 3.1), Kling, Seedance, Wan, Vidu, Runway, Hailuo, Pixverse and Grok Imagine. On the image side it has Nano Banana, GPT Image, Seedream and Midjourney.
For a one-off clip, trying a few models is fine. For a demo pair, it is the quickest way to ruin the match. Pick one model and stay on it for every take in the series.
The Settings That Shape Every Clip
- Aspect ratio: 16:9, 9:16, 4:3, 3:4, 1:1 and 21:9.
- Resolution: 480p, 720p or 1080p.
- Length: set per clip, with limits that depend on the model.
- Seed: the number field with the lock beside it.
- References: up to 9 images, 3 videos and 3 audio files can be uploaded to guide a generation.
Credits, Watermark And Commercial Use
Each generation shows how many credits it will cost before you press the button. Free plan output carries a watermark, and paid plans remove it. The site says commercial use is allowed on paid plans, which matters if the clip is going into a product page and not just a GitHub README.
Create with Viddo AI in Easy Steps

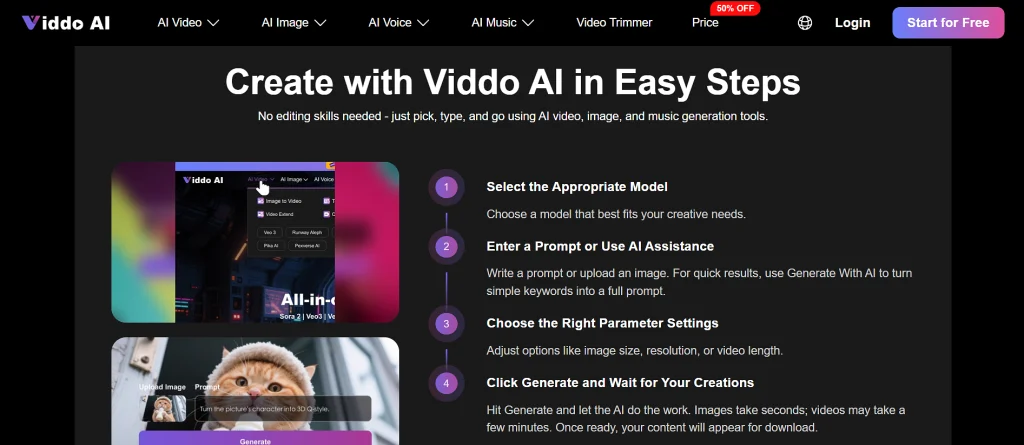
Viddo AI’s own guide has four steps: pick a model, write a prompt, set the parameters and generate. For a demo pair, the seed lock goes into that flow on the first take and stays on for the second.
From Viddo AI’s own step guide: a clip made from a written prompt.
1. Pick One Model And Stay On It
Choose the model before you write anything, and write its name in your notes. If a later take looks off, the fix is a narrower prompt, not a different model. Changing the model halfway through means your before and after no longer compare like with like.
2. Write A Narrow First Prompt
Describe one screen, one subject and nothing else. Leave out the story, the extra props and the mood words that invite the model to decorate. If you have a real screenshot of the interface, use image to video and start from it. The model then animates your actual UI and doesn’t have to invent one.
Here is what a narrow prompt pair looks like for a small to-do app demo. The only phrase that changes between the two is the state of the list:
Prompt one (before):
Screen recording style, flat UI, white background. A to-do app panel titled Tasks with an empty list and one grey Add task button. Static camera, no people, no logo.
Prompt two (after):
Screen recording style, flat UI, white background. A to-do app panel titled Tasks with three completed items ticked and one grey Add task button. Static camera, no people, no logo.
“No people, no logo” and “static camera” are doing real work there. They close the doors the model would otherwise walk through to decorate the frame.
3. Set Ratio, Resolution And Length Once
Choose the aspect ratio for where the clip will live. Use 16:9 for a README or docs page, and 9:16 for a short social clip. Set the resolution and length at the same time. Don’t touch them again for the second take.
4. Lock The Seed On The First Take
You don’t need to invent a seed number by hand. Turn the lock on and the panel fills in a number for you. Generate the clip. If it could sit beside your real UI without showing a control you don’t ship, it’s a keeper. Copy the seed into the same note as the prompt.
If the first take is wrong, don’t lock a bad frame into the whole series. Update the seed, tighten the prompt, and count the next good take as take one.
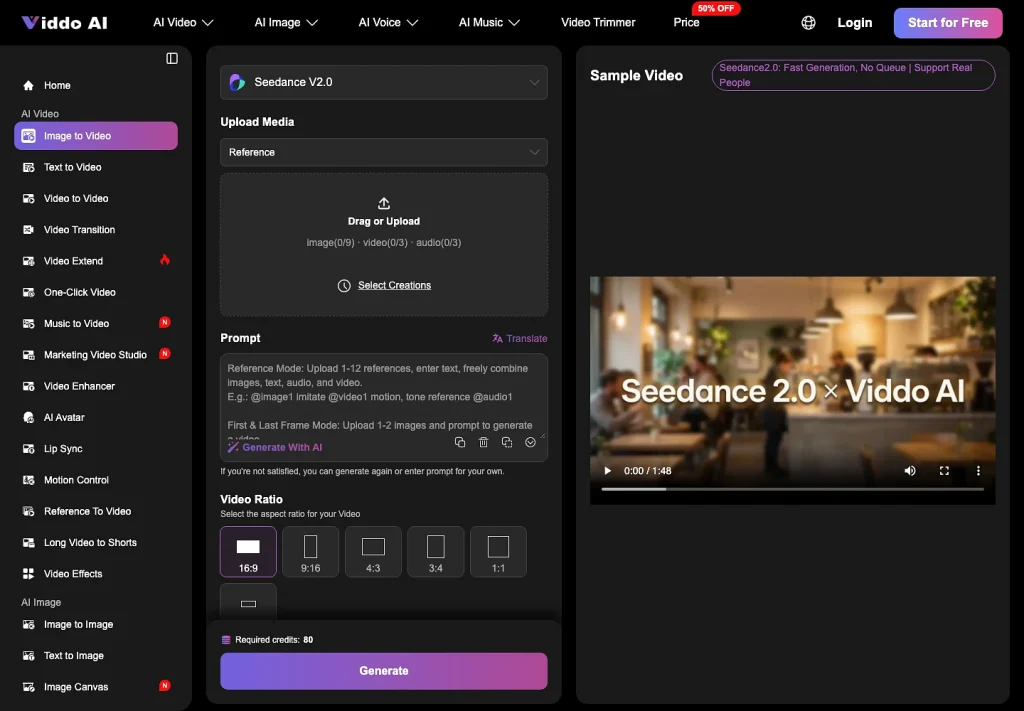
Write the seed down next to the prompt. That pair of lines is what lets someone else rebuild the shot later.
5. Make The Second Clip With One Change
Leave the lock on. Change only the one variable in the prompt, then generate again. Now check the two clips together, not the new one on its own. The character, the prop and the framing should still read as one demo. If the face, the icon or the room changed anyway, the prompt change was too wide or the lock was off.
Check The Pair Before It Goes Into A README
A pair you can defend has a paper trail: both prompts, the one variable, the model, the ratio and the seed. You are not claiming the video model is perfectly repeatable. You are showing you didn’t quietly restyle the example between the problem and the fix.

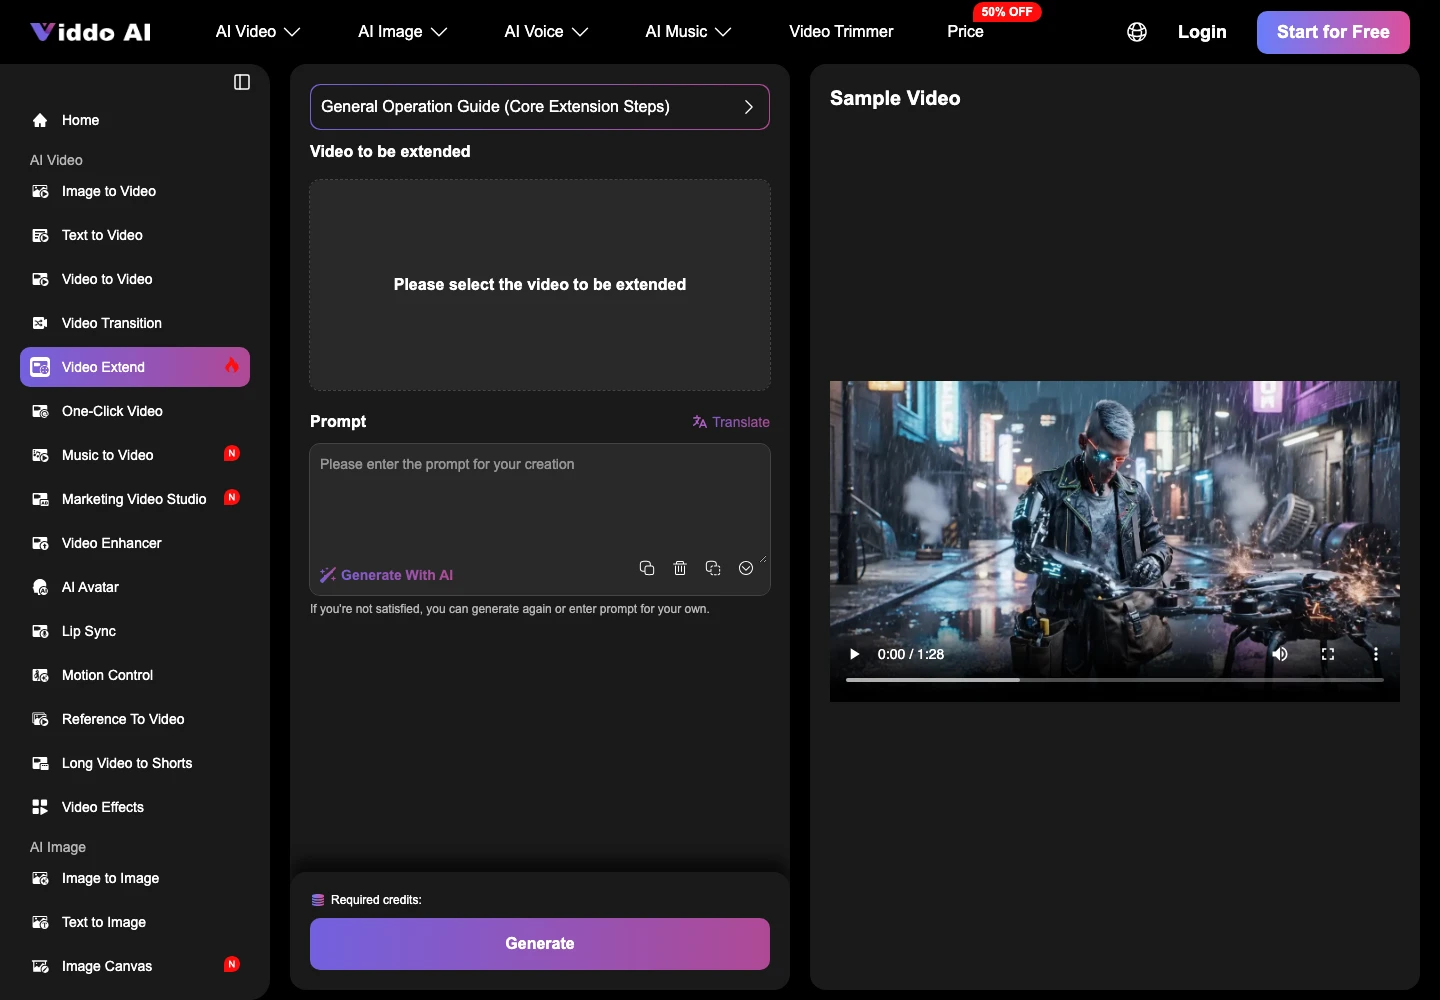
Compare the two takes as a pair. A good-looking second clip that doesn’t match the first is still the wrong clip.
Keep The Recipe In A File, Not In Your Head
The paper trail is easier to keep if it lives next to the clips. This short Python script stores the whole recipe as JSON and checks that the two prompts differ in exactly one phrase. If they differ in more, it tells you before you spend credits.
import difflib
import json

pair = {
    "model": "Kling 2.6",
    "ratio": "16:9",
    "resolution": "1080p",
    "length_seconds": 5,
    "seed": 48213907,
    "variable": "empty list vs filled list",
    "prompt_before": (
        "Screen recording style, flat UI, white background. "
        "A to-do app panel titled Tasks with an empty list and one grey Add task button. "
        "Static camera, no people, no logo."
    ),
    "prompt_after": (
        "Screen recording style, flat UI, white background. "
        "A to-do app panel titled Tasks with three completed items ticked and one grey Add task button. "
        "Static camera, no people, no logo."
    ),
}

before = pair["prompt_before"].split()
after = pair["prompt_after"].split()
changes = [
    (" ".join(before[i1:i2]), " ".join(after[j1:j2]))
    for tag, i1, i2, j1, j2 in difflib.SequenceMatcher(None, before, after).get_opcodes()
    if tag != "equal"
]

print(f"Seed {pair['seed']} on {pair['model']}, {pair['ratio']} at {pair['resolution']}")
print(f"Changed phrases: {len(changes)}")
for old, new in changes:
    print(f"  '{old}'  ->  '{new}'")

if len(changes) > 1:
    print("Too many changes. Narrow the second prompt to one variable.")

with open("demo_pair.json", "w") as f:
    json.dump(pair, f, indent=2)
print("Saved demo_pair.json next to the clips.")
Running it on the to-do app pair above gives:
Seed 48213907 on Kling 2.6, 16:9 at 1080p
Changed phrases: 1
  'an empty list'  ->  'three completed items ticked'
Saved demo_pair.json next to the clips.
Commit demo_pair.json alongside the clips. Anyone on the project can then see the model, the seed and the single variable without opening Viddo AI. If your demo lives in a Django project, keep the file out of any app folder with a name the framework already uses, the way the ai_engine module conflict catches people out.
Same Character, Same Prop, Same Frame
Lay the two clips side by side and check three things:
- The character or mascot is the same design in both.
- The prop you are demoing is the same object, changed only in the way your variable says.
- The frame matches: the same ratio and roughly the same camera distance.
If any one of the three fails, don’t publish the pair and try to explain it in the caption. Run the second shot again with the lock still on and a tighter prompt. One extra generation costs far less than a GitHub issue titled “UI in the video does not match.”
Read Any Text The Clip Painted
If the clip drew a function name, a menu label or a button caption, read it letter by letter. Generated text goes wrong often, and a wrong name in a demo becomes a support ticket. Keep the real code in the post as text. Let the clip show the motion or the state change, never a made-up snippet.
The footage is the frame around a sample, not the sample itself. A reader should be able to skip the clip and still run your code. If a flag only exists inside the generated picture, the demo has taught a feature you don’t have.
When To Update The Seed Instead
Update the seed when you start a new series, not when one take disappoints you.
A new sample app, a new theme, or a talk that shouldn’t look like last month’s README are all good reasons for a fresh number. Click the update control beside the seed field and let the panel give you a new one. Then label that series in your notes, so the old seed never ends up pasted into the new deck.
Mixing seeds across one series is how a conference recording ends up looking like two products sharing one logo.